Slug: 3d-bendable-neon-flex-top-bend-side-bend-guide
Meta description: Top bend or side bend? Learn how 3D bendable neon flex works, when to choose each bending direction, and what specs to check with your manufacturer.
目标关键词: 3d bendable neon flex, bendable neon, top bend neon flex, side bend neon flex, 3D neon
Most "flexible" neon flex has a dirty secret: it only bends in one plane, in one direction. Design a letter with a return stroke, wrap a column base, or route light around a three-dimensional corner, and standard neon flex either kinks, cracks, or leaves a dark face.
3D bendable neon flex solves this. It’s one of the few LED products where the engineering directly expands what designers can draw — which is why it’s become a favorite for signage studios, façade specialists, and custom fabrication shops.
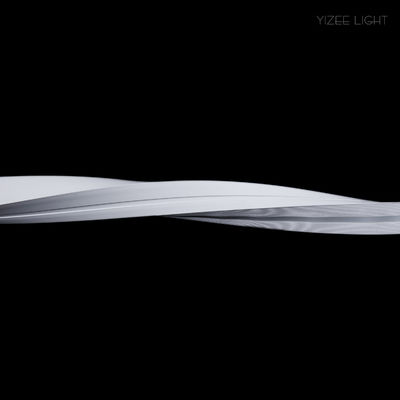
What Makes Neon Flex "3D Bendable"?
Standard silicone neon tubes are extruded with a flat base and a single bending direction (usually side-to-side). The internal LED strip and the silicone walls are optimized for that one motion.
3D bendable versions are engineered differently:
- Top bend (vertical bend): the tube bends forward and backward, toward and away from the mounting surface. Ideal for letters, logos, and patterns drawn on a flat panel — the tube stands up from the surface and curves in every direction of the drawing plane.
- Side bend (horizontal bend): the tube bends left and right, parallel to the surface — the classic direction for outlining walls, ceilings, and curved coves.
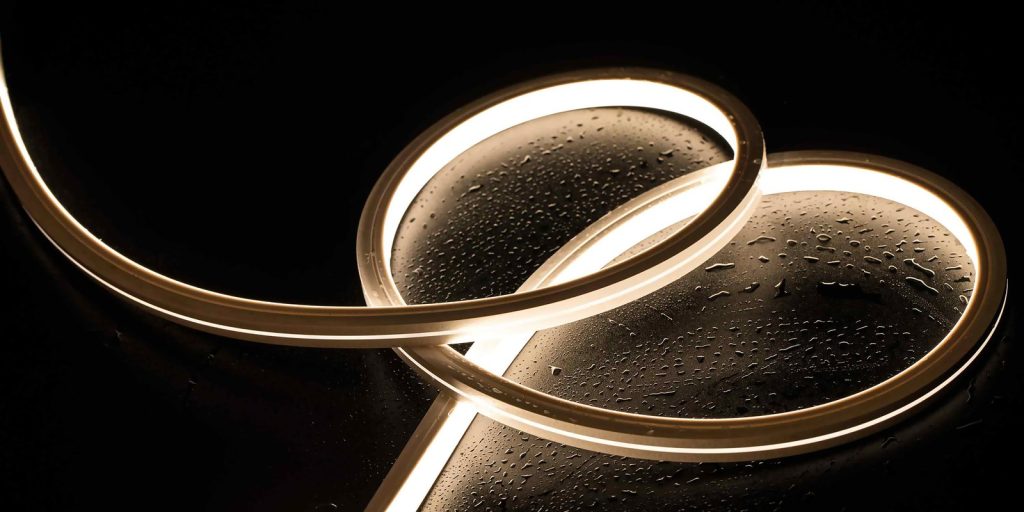
- 3D bendable (both directions): the tube tolerates bending in both planes, letting you move across a surface and pop off it in the same continuous run.
The mechanical difference is in the silicone wall thickness, the LED strip’s PCB flexibility, and the internal channel geometry. Cheaper tubes claim "3D bend" but crease on the second bend — always test the actual product with your tightest curve.
Top Bend vs. Side Bend: How to Choose
Choose top bend when:
- You’re fabricating channel letters, logos, or graphic shapes on a panel
- The tube must stand off the surface and curve within the panel plane
- You’re building halo-lit signs where the tube loops behind letterforms
Choose side bend when:
- You’re tracing straight architectural edges with curved corners
- The tube sits in a continuous groove or channel
- You’re wrapping gentle columns or curved bulkheads
Choose true 3D bendable when:
- One continuous run must change direction in both planes — e.g., outlining a 3D logo, wrapping a sculpture, or routing around multi-angle façade features
- Your fabricator wants freedom to solve curves on site rather than pre-planning every bend
Where 3D Bendable Neon Excels
Custom signage and logos. The single biggest application. Studios draw shapes in CAD, laser-cut an acrylic back panel, and clip the tube along the drawn path — top-bend tubes handle curves a router can’t.
Façade feature lighting. 3D-bendable tubes trace window frames, portal edges, and protruding canopies in one continuous lit line, turning corners without joints or dark spots.
Retail and hospitality interiors. Curved bars, reception desks, and feature walls get a continuous neon line that follows the joinery — no segmentation, no visible connectors mid-feature.
Events and exhibitions. Temporary builds reward products that forgive on-site improvisation. A truly 3D-bendable tube can be re-routed around trusses, frames, and scenography without ordering new pieces.
Specifications to Check With Your Manufacturer
1. Minimum bending radius — in both directions. Ask for the spec sheet, not a marketing line. A quality 10×10 mm 3D-bendable tube typically achieves a minimum radius around 30–50 mm; larger diameters bend wider.
2. Bend count and fatigue. Silicone recovers well, but repeated sharp bending at one point fatigues the LED core. For installations with many re-bends (rental, events), specify a product with a reinforced flexible PCB.
3. Diameter vs. visual weight. 6×12 mm reads as a fine detail line; 10×10 mm and 12×12 mm read as classic neon strokes; 16×16 mm and up are architectural statements. Match the tube size to viewing distance.
4. IP rating. Outdoor installations need IP67 minimum; specify IP68 for areas with standing water or wash-down cleaning. For indoor dry locations, IP65 is sufficient.
5. Mounting system. Clips, channels, and suspension kits differ between top-bend and 3D-bend products. Confirm accessory availability for your diameter before finalizing the design — nothing derails a signage job like missing clips.
6. Voltage and run length. 24 V DC offers the cleanest dimming and color consistency for runs up to roughly 10–15 m per feed. For very long continuous runs, high-voltage (110/220 V) versions reduce wiring but limit dimming options.
Installation Tips From the Factory Floor
- Mock up the tightest bend first. Before committing to a full layout, bend one sample through your smallest radius and energize it for an hour. Look for dimming at the bend and whitening of the silicone.
- Support bends with clips. A bend without a nearby clip is where tubes eventually work loose. Place clips within 5 cm of every bend point.
- Mind the feed direction. LED strips have a direction (input vs. output end on addressable types; brightness drop on long analog runs). Plan power injection before installation, not after.
- Seal everything outdoors. Every cut point, end cap, and connector needs the manufacturer’s glue and heat-shrink kit. Most "waterproof" failures are actually installation failures.
Why Factories Matter More for 3D-Bendable Products
Bendability is a manufacturing quality, not a feature you can add later. The difference between a tube that bends beautifully 10,000 times and one that cracks on the first job comes down to:
- Silicone formulation and curing consistency
- PCB copper thickness and flexibility
- Extrusion alignment between the LED channel and outer skin
This is exactly the product category where buying on price alone costs the most. A failed 3D-bend run wastes fabrication labor, panel materials, and site time — far more than the tube itself.
YIZEE’s 3D bendable neon flex series is built specifically for top-bend and multi-direction bending, in diameters from slim 6×15 mm up to 16×16 mm architectural sizes, all IP67 as standard and batch-tested for bend fatigue.
→ Browse the 3D series specifications or request bend samples for your project.
Frequently Asked Questions
Can 3D bendable neon flex be cut to length?
Yes, at marked cut lines — typically every 5 cm or 10 cm. Re-seal cut ends with the end-cap kit to keep the IP rating.
What’s the tightest radius I can design around?
It depends on the tube’s cross-section. Slim 6 mm profiles bend to roughly 30 mm radius; 10×10 mm tubes to around 40–50 mm; larger profiles 80 mm or more. Always confirm with the spec sheet for the exact model.
Will bending affect brightness?
On quality products, no visible change down to the rated minimum radius. Beyond it, you may see dimming or color shift at the bend — this is a sign the bend is too tight.
Can I get RGB or CCT tunable in 3D bendable formats?
Yes — RGB, RGBW, and tunable-white versions exist in 3D-bendable constructions, though they usually carry more wires and slightly wider minimum bend radii than single-color versions.
Is 3D bendable neon the same as 360° neon?
No. 360° neon refers to the light distribution (all directions); 3D bendable refers to the mechanical flexibility (bending in multiple planes). Some products combine both — round, fully luminous tubes that also bend 3D — but they’re distinct specifications.
Designing a signage or façade project with complex curves? Send us your drawings — we’ll recommend the right diameter, bending direction, and mounting system, and ship samples for testing. Request a factory quote.